Under Category Settings Menu you can create the Activities which your customers will attend.
Example:
An adventure Park may create the following categories: Mini Golf, Laser Tag, Ropes Course and etc.
create a new waiver category/activity and schedule
STEP 1: Create Activity
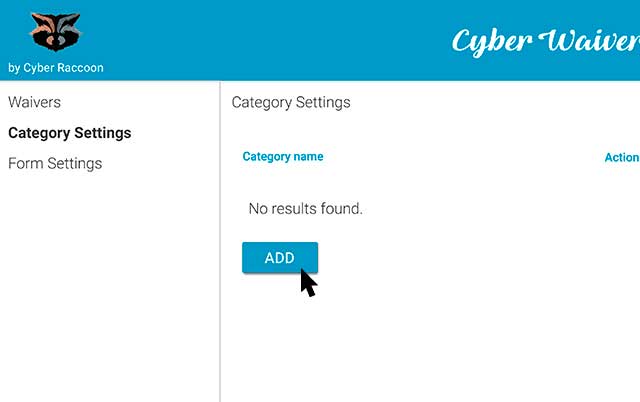
By default there would be no Categories. Click “ADD” button to create a new activity.
STEP 2: Customize the Activity
Give this Category a name.
Attention! This name will appear at Waiver Frontend page and will be visible to your customers. Use something that clients will instantly recognize.
Download an image from your computer. Since the image can be viewed from multiple platforms and different screen sizes, we recommend it to have the following parameters:
Image size: 200 x 300 px
Image Format: JPEG
Image weight: under 200kB
Larger images can cause image distortions and App responsive delays. In order to avoid those negative effects, please stick to recommended or close to recommended specifications.
STEP 3: Create schedule for an Activity
Once saved, you can proceed to creating Schedule for this Activity. Click on “MANAGE SCHEDULE” button.
STEP 4: Schedule Specifications
The schedule specifics vary for each particular business and often an Activity can have no schedule at all and operate on “walk-ins” basis or have multiple schedules based on a day of the week, special events or holiday season.
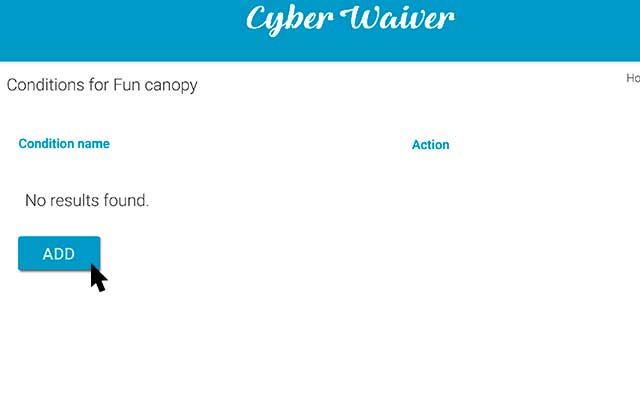
Here you can define how many schedules you would have and assign specifics for each schedule.
“Conditions” are the schedule options under this Activity. Click “ADD” button to create a new Condition.
Example:
Skydiving company in a resort town might have the following “Conditions” defined:
Weekdays
Weekends
Private Lessons
Each of these Conditions would have its own Schedule for particular day of the week.
If your Activity does not have specifics and schedule is always the same, choose “Everyday Schedule” Condition and do not define time (choose “No Time“)
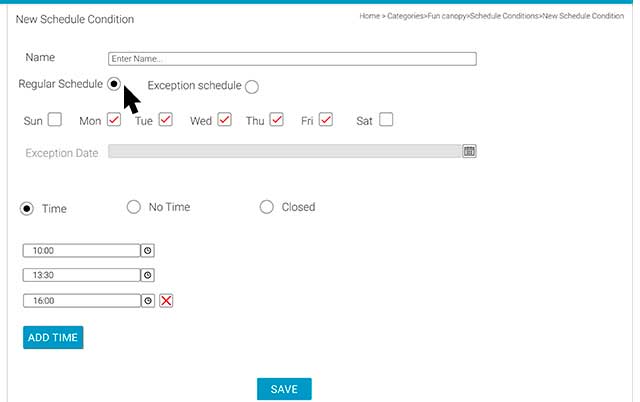
STEP 5: Name Schedule Condition, determine the days of the week and designate the time slots
Field “Name” is for internal use so call it whatever you like.
Attention! There are two mutually exclusive options:
“Regular Schedule” and “Exception Schedule”
Regular Schedule is used to define most common schedule, and therefore that option gives you access to pick the days of the week.
Exception Schedule allows you to create an exclusive exception for one particular day. This option can be used in situations, such as a Private event, special booking or when facility is closed due to holiday or emergency.
Attention! Exceptions always privilege over Regular Schedule, and thus its settings will overwrite any other conditions.
After choosing Regular Schedule, simply select the days of the week and pick “Time“, if you have booking time slots or “No Time” for “open doors“, and choose “Closed“, if your facility will be closed for these days.
STEP 6: Review and Manage
After you create your first Schedule Condition, you can review the information by simply clicking on it.
Manage the Categories by clicking on pencil icon to edit, calendar icon to change the schedule, or X icon to trash (if you remove it, there is no restoration possible).