Form Settings correspond to your Waiver Frontend and consists of 3 parts:
Static Fields
Waiver Text
Custom Fields
Lets look a bit closer to each of them.
1. Electronic Waiver Mandatory Static Fields
There are 5 obligatory fields that each waiver must have in order to be valid:
Participant’s Name, Last name, date of birth, waiver text content checkbox and electronic signature. Without these, the waiver is invalid; thus, these fields can not be removed and set by default.
Here you will also find your unique URL to the Frontend of your Waiver. Include this URL link to your customer’s confirmation email after booking or post on your website.
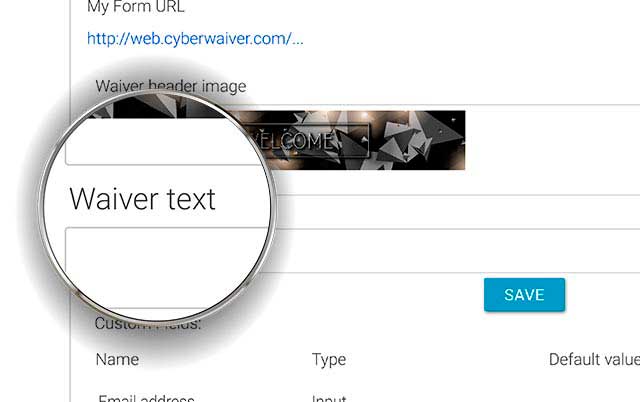
The Frontend form has a customizable header. Download an image from your computer with your company logo. Since the image can be viewed from multiple platforms and different screen sizes, we recommend it to have the following parameters: dimensions 1900x220px, format JPEG of max 300kB. Larger images can cause image distortions and App responsive delays. In order to avoid those negative effects, please stick to recommended or close to recommended specifications.
2. Waiver Text
Now it’s time to paste the legal language of your Waiver. Use your mouse cursor to pull the field by the right bottom corner to expand.
3. Waiver Custom Fields
Use this functionality to collect additional information from the participants. Create as many questions as you like.
There are 5 different types of questions for all occasions.
Click on “ADD FIELD” button to create a new custom field. Define the following settings (see instructions below).
How to add a new question to waiver form
STEP 1: Give it a Name
Formulate the question. This part is visible on Frontend.
Example: you might want to collect your customers Emails for future promotional use, so this field can be Named “Your Email”
STEP 2: Define Sorting Number
Choose the sequence number of this question among the other questions.
Example: place number “1” if want this question to be the first one after Static fields with participant’s name.
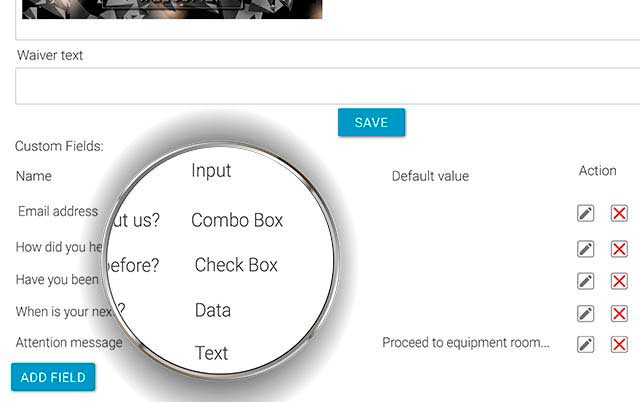
STEP 3: Specify Question Type
Choose between 5 types of questions.
Select:
– “Input” if want the participant to type something
– “Text” to create text message to display (warning message)
– “Data” for a pop-up calendar to appear
– “Combo Box” when need a drop-down menu with several options. User can only pick one answer.
– “Check Box” drop-down menu with multiple options to choose from. User can place check box for multiple answers.
STEP 4: Make question mandatory or optional
Click on a bar to switch between ON/OFF modes for “Is Required” field to make the question obligatory to answer or keep optional.
STEP 5: Place a Default Value
Applies to “Text” Type field when creating Warning/Attention notes.
Example: Create a message at the end of the waiver form stating: “Please proceed to the equipment rental department after the form completion.”
Place the Body of the text to the Default Value field.
STEP 6: Options
Applicable to “Combo Box” and “Check Box” types of fields only.